
Flashforge
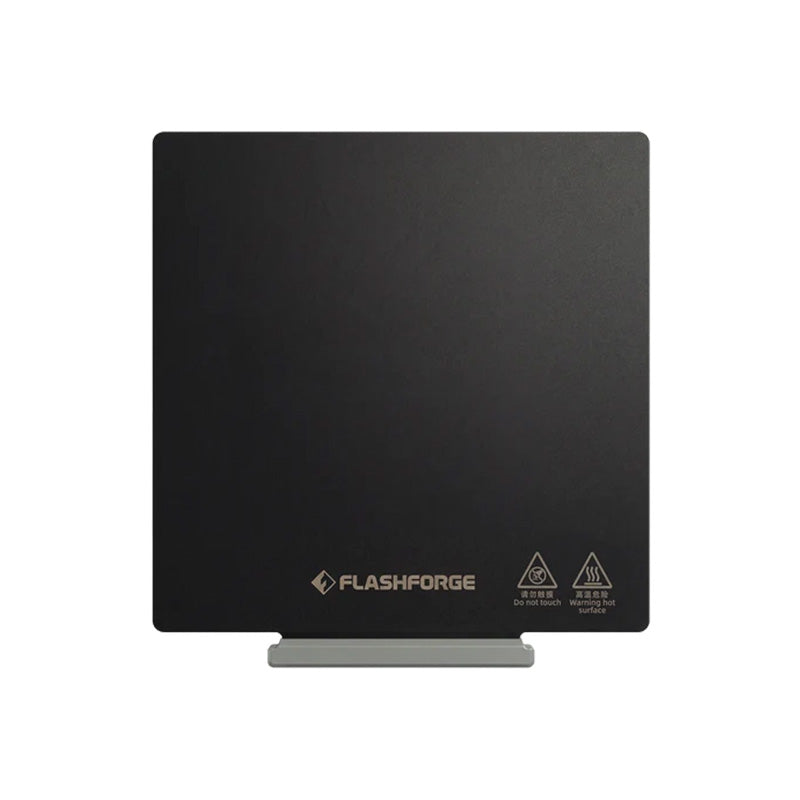
Flashforge AD5M / AD5M Pro / AD5X PEI Sticker Sheet

We have 6 in stock.


Flashforge AD5M / AD5M Pro / AD5X PEI Sticker Sheet
235 x 235 mm

EC3D Shop - Maarssen, Utrecht
Pickup Available - usually ready in 2 hours
Address:
Gagledijk 2, Unit B2
3602 AL, Maarssen, Utrecht
Contact details:
Telephone: +31 (0)6 2914 7428
Email: info@ec3d.nl
Trading Hours:
Monday - Friday: 09:00 - 17:00
Saturday & Public Holidays: 10:00 - 15:00
Sunday: Closed
Flashforge AD5M / AD5M Pro / AD5X PEI Sticker Sheet
The official Flashforge PEI Sticker Sheet is a self-adhesive replacement printing surface designed for the Adventurer 5M (AD5M), Adventurer 5M Pro (AD5M Pro), and AD5X series flexible spring steel build plates. Engineered to refurbish worn or damaged PEI build plates without buying a whole new steel sheet, it restores optimal first-layer adhesion and effortless part release.
Key Features:
-
High-Adhesion Polyetherimide (PEI): Formulated to grab standard filaments firmly during high-speed printing, eliminating warping, corner lifting, and adhesion failures.
-
Thermal Release Mechanism: Holds strong while hot and naturally releases models as the print bed cools down, preventing physical damage to models or the build surface.
-
High Temperature Rating: Built to handle heatbed temperatures up to 120°C without bubble formation or adhesive breakdown.
-
Self-Adhesive Backing: Pre-applied 3M high-temp transfer tape on the back ensures a bubble-free bonding process directly to bare spring steel sheets.
-
Clean Surface Finish: Delivers a smooth, uniform bottom surface finish across all prints without requiring glue sticks, hairspray, or external adhesive aids.
Specifications:
- Printer Compatibility: Flashforge Adventurer 5M, Adventurer 5M Pro, AD5X
- Sheet Dimensions: Precision-cut 235 x 235 mm (Fits 220 x 220 mm print area)
- Material Type: Premium Polyetherimide (PEI) Film with high-temperature adhesive backing
- Compatible Filaments: PLA, PETG, ABS, ASA, TPU, PLA-CF
Replacement & Application Guide:
-
Prepare Steel Base: Remove Worn Surface & Clean Peel off the old damaged PEI layer from your spring steel sheet. Use Isopropyl Alcohol (IPA) or acetone with a scraper to remove all residual adhesive until the bare steel surface is completely clean and smooth.
-
Align Sticker Edge: Peel back roughly 2–3 cm of the protective adhesive backing paper along one edge of the new PEI sticker sheet. Align the edge carefully with the front border of the steel plate.
-
Apply & Squeegee: Slowly adhere the sticker onto the steel plate while pressing down with a plastic scraper, squeegee, or microfiber cloth to work out air bubbles as you pull the remaining backing paper away.
-
Trim & Heat Set: Check the edges for any overhang and trim carefully if needed. Place the refurbished plate back onto the printer heatbed and heat to 80°C for 10 minutes to fully cure the adhesive bond.
Together, Layer by Layer!